Editing
Window pull in real estate photography, explained
A window pull brings back the view through a blown-out window. How to shoot for one, the two ways it is edited, and how to avoid halos and fake views.
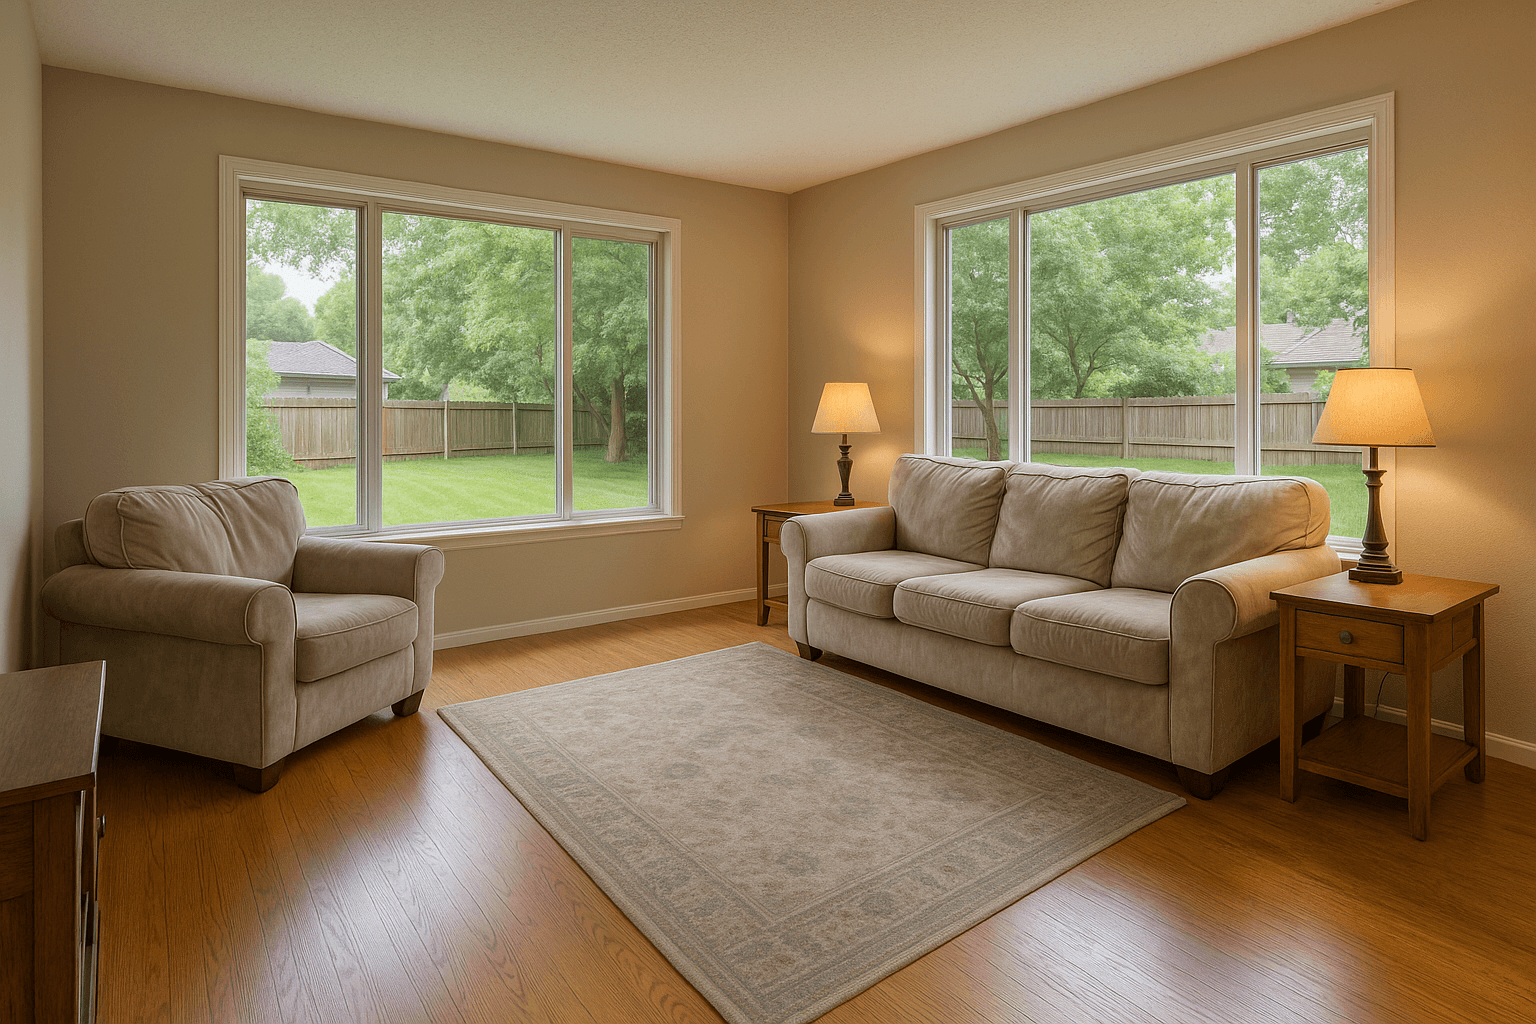
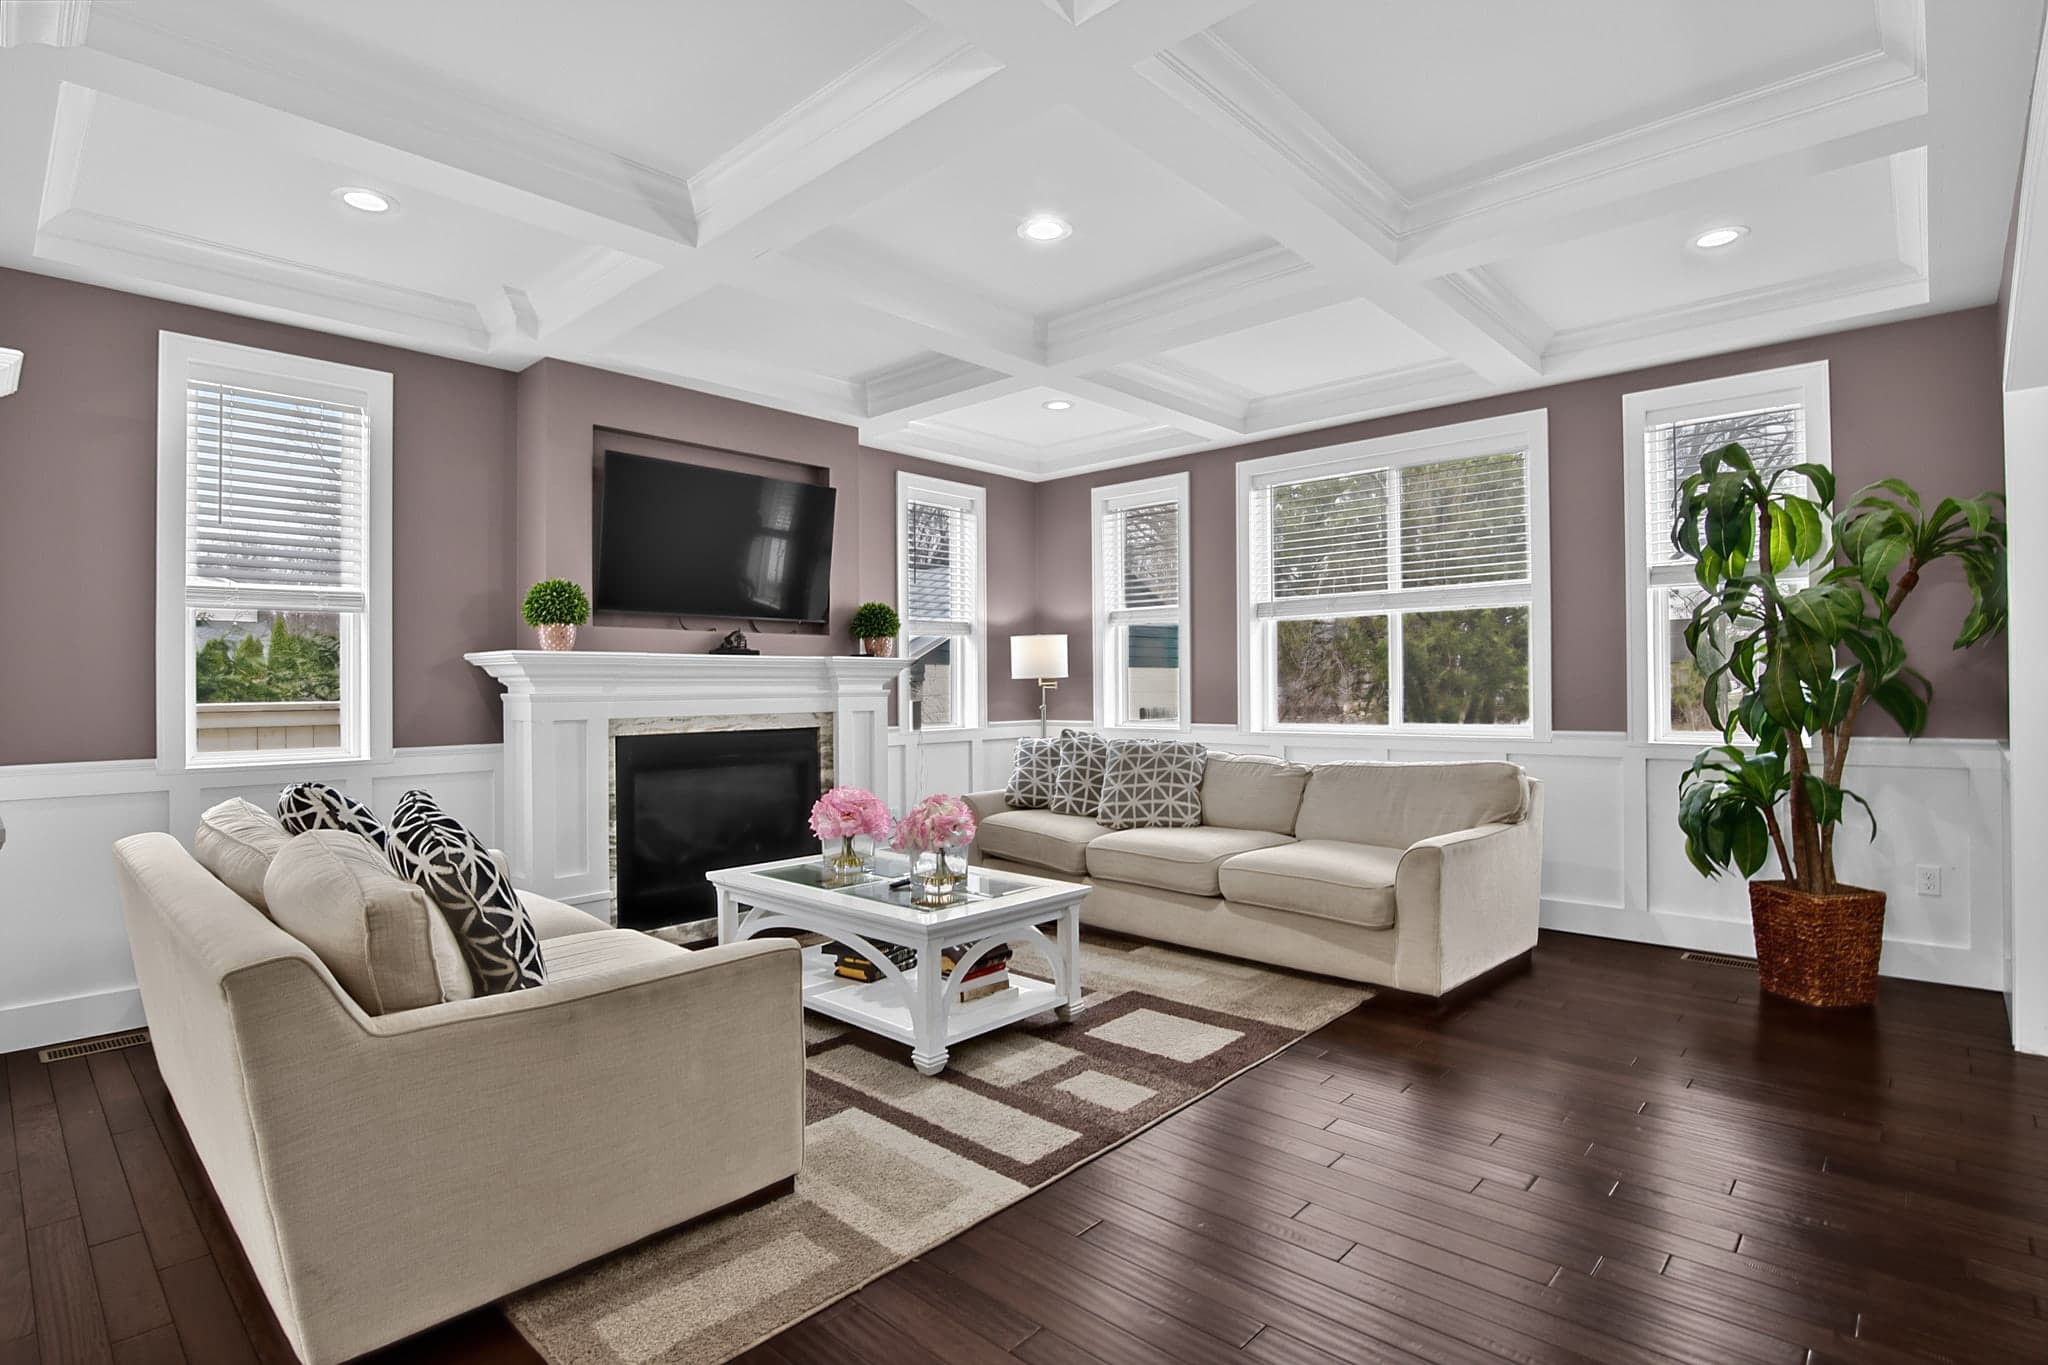
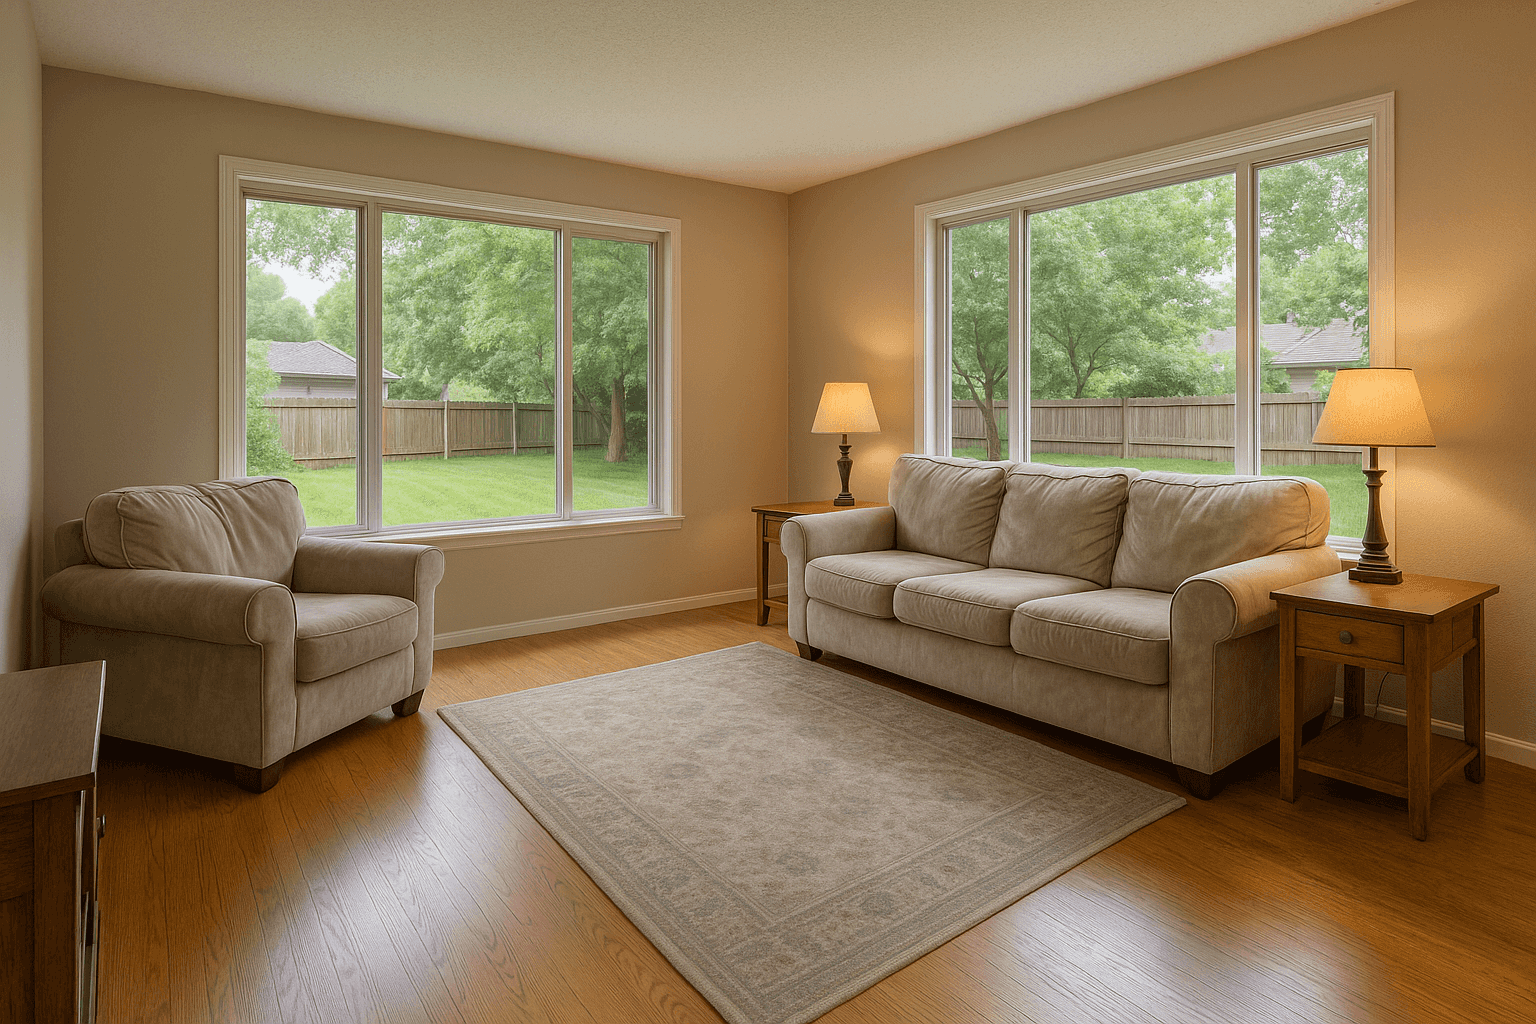
A window pull is the edit that makes the view through a window visible in an interior photo. Shot normally, a window in a room exposed for the interior turns into a white rectangle. A window pull recovers the scene outside, the yard, the trees, the skyline, so the room is bright and the view reads at the same time.
Agents care because the view is often part of what is for sale. Buyers care because a white window looks like something is being hidden. This guide covers why windows blow out, how to shoot so the pull is possible, the two ways it is edited, and what separates a clean pull from an obvious one.
Why windows blow out
Outdoor daylight is many times brighter than the light inside a room. Expose for the room and the window clips to pure white; expose for the window and the room falls into shadow. No single exposure holds both, which is why real estate photographers bracket.
A clipped window holds no information at all. No edit can recover a view the camera never recorded, which is why the pull is decided on site, not at the computer.
How to shoot for a window pull
The pull is only as good as the darkest exposure you captured. On site:
- Bracket every interior composition: three to five exposures, from dark enough to hold the outside scene to bright enough to open the corners
- Keep the camera on a tripod so every exposure lines up exactly
- Check the darkest frame on the back of the camera: if the window is still white, shoot one stop darker
- Turn off ceiling fans and wait for curtains to settle, so nothing moves between exposures
- Mind reflections in the glass, including yourself and the tripod
- Open blinds to the same angle in every room, so the windows read the same across the set
Light, weather and time of day
The pull gets easier when the gap between inside and outside is smaller. Overcast days narrow it; direct sun on the window side of the house widens it. If you can choose, shoot the rooms with the brightest windows when the sun is on the other side of the house. Our golden hour calculator helps plan which side gets the light when.
Turning on every interior light also narrows the gap, at the cost of mixed colour that you will correct later. Most photographers accept that trade.
How a window pull is edited
There are two common ways. The first is the merge itself: blending the brackets takes the window from the darker exposure and the room from the brighter ones. For most rooms, a good merge is the whole pull.
The second is a local adjustment for the frames the merge did not fully solve: a mask over the window glass, then exposure, contrast and colour corrected inside the mask only, so the view gets its own grade without touching the wall around it. The mask follows the glass, not the frame, so mullions, sills and blinds keep the room's exposure.
What a good pull looks like
Judge a window pull at full size and at thumbnail size, against these:
- The view reads clearly but is still brighter than the room, the way the eye sees it
- No halo: no bright or grey rim where the window frame meets the wall
- Frames, mullions and blinds keep their edges and their own colour
- The outside colour matches the season and the sky in the exteriors
- Every window in the room, and in the set, is pulled to the same degree
Common mistakes
The halo is the most common tell of an over-processed interior. It comes from a mask that is too soft or a merge that is too aggressive. The second is the cut-out look: a view pulled so dark and saturated that the window reads as a picture hung on the wall. The third is inconsistency, with one window in the room pulled and the one beside it left white.
Window pulls on Better Listing Media
HDR Merge includes the window pull as part of the merge: upload the brackets, and the blend holds the view while the room stays bright, with colour and vertical correction in the same pass.
For frames that need more, the desktop Studio's Windows tool works on the glass alone. Grading a found or drawn window mask runs on your computer and spends no credits. View Enhance goes further, improving the visibility, range and clarity of the view that is already there; it is a metered function and shows its cost before it runs.
The rule that keeps it honest
A window pull recovers the view that is there. It does not invent a better one. View Enhance is built to that rule: it improves the existing view without replacing it with a different scene, and keeps the frames, mullions, blinds and reflections as they are.
If the window looks out on a parking lot, the photo shows a parking lot, clearly. A buyer who stands at that window should see what the listing showed them. Replacing a view is a different edit with a different obligation, and it belongs in the disclosure, not in a window pull.
This guide goes with HDR Merge.