Editing
HDR merge for real estate photography: the complete guide
What an HDR merge is, how many brackets to shoot, the three ways to merge them, and how to spot and fix halos, ghosting and grey, flat interiors.
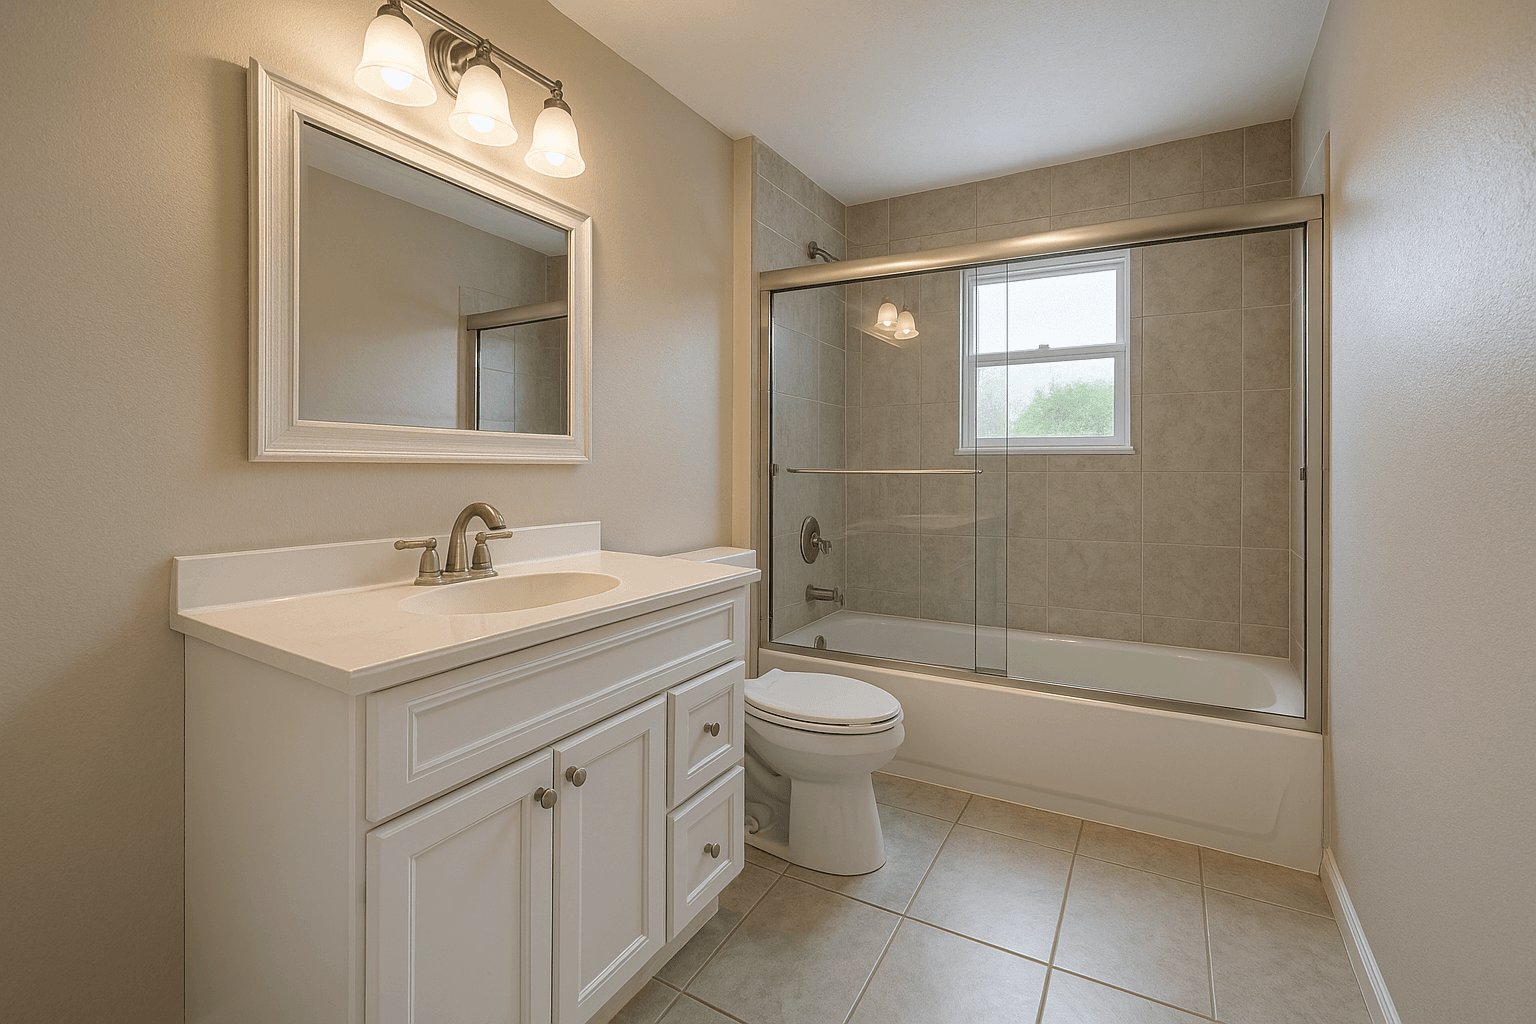
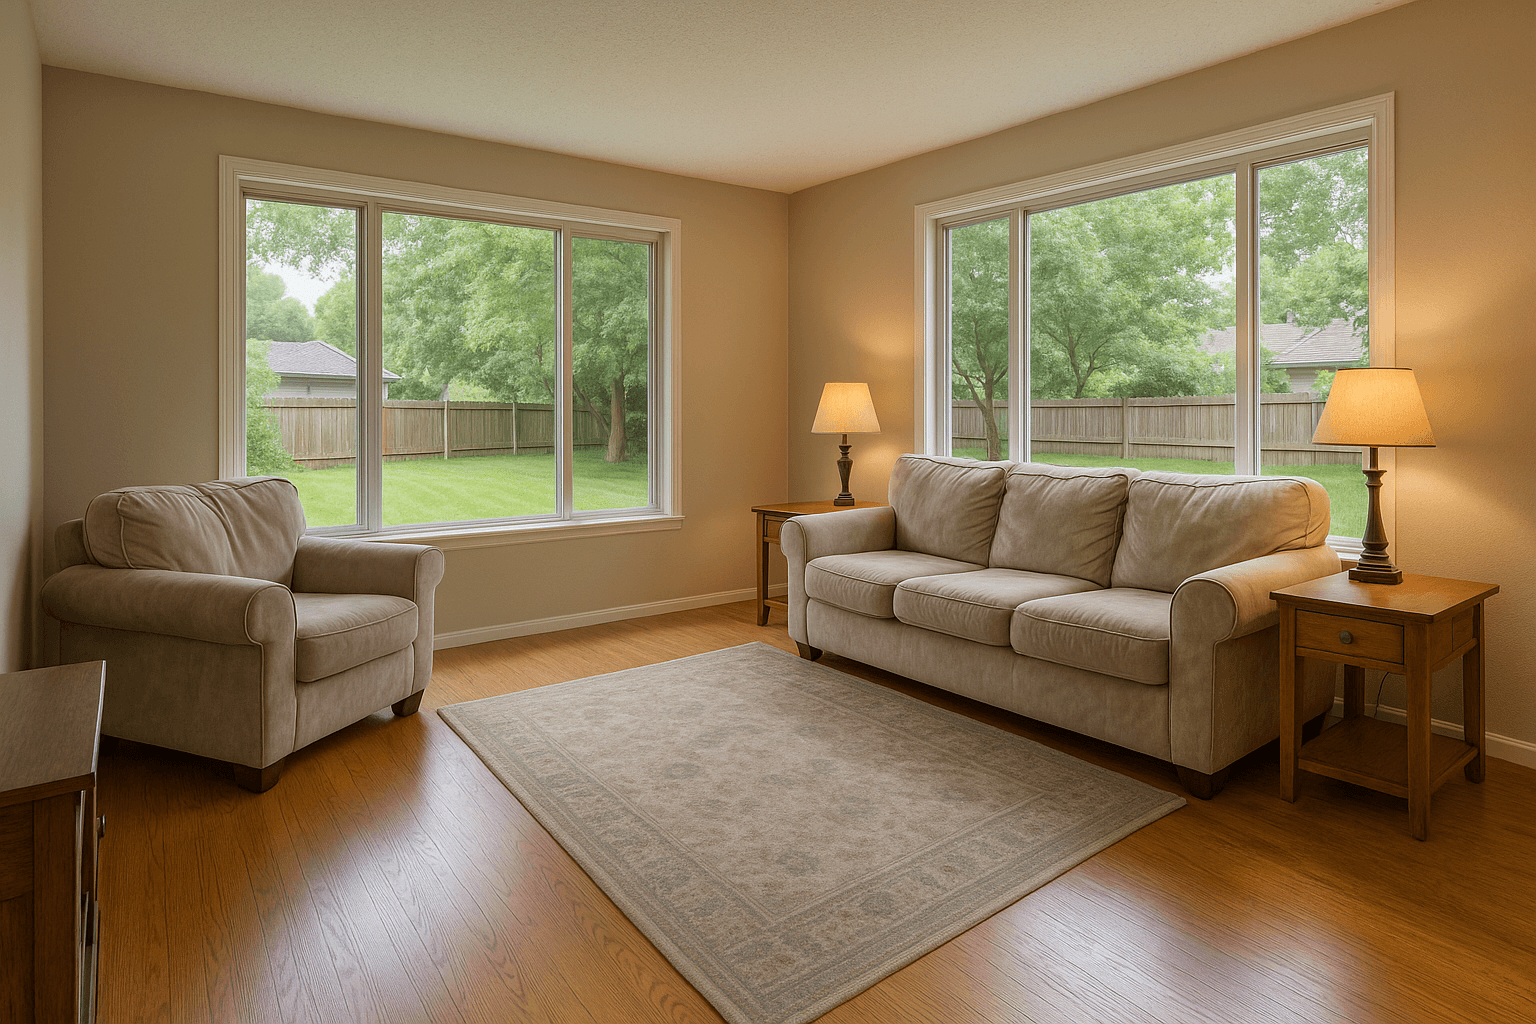
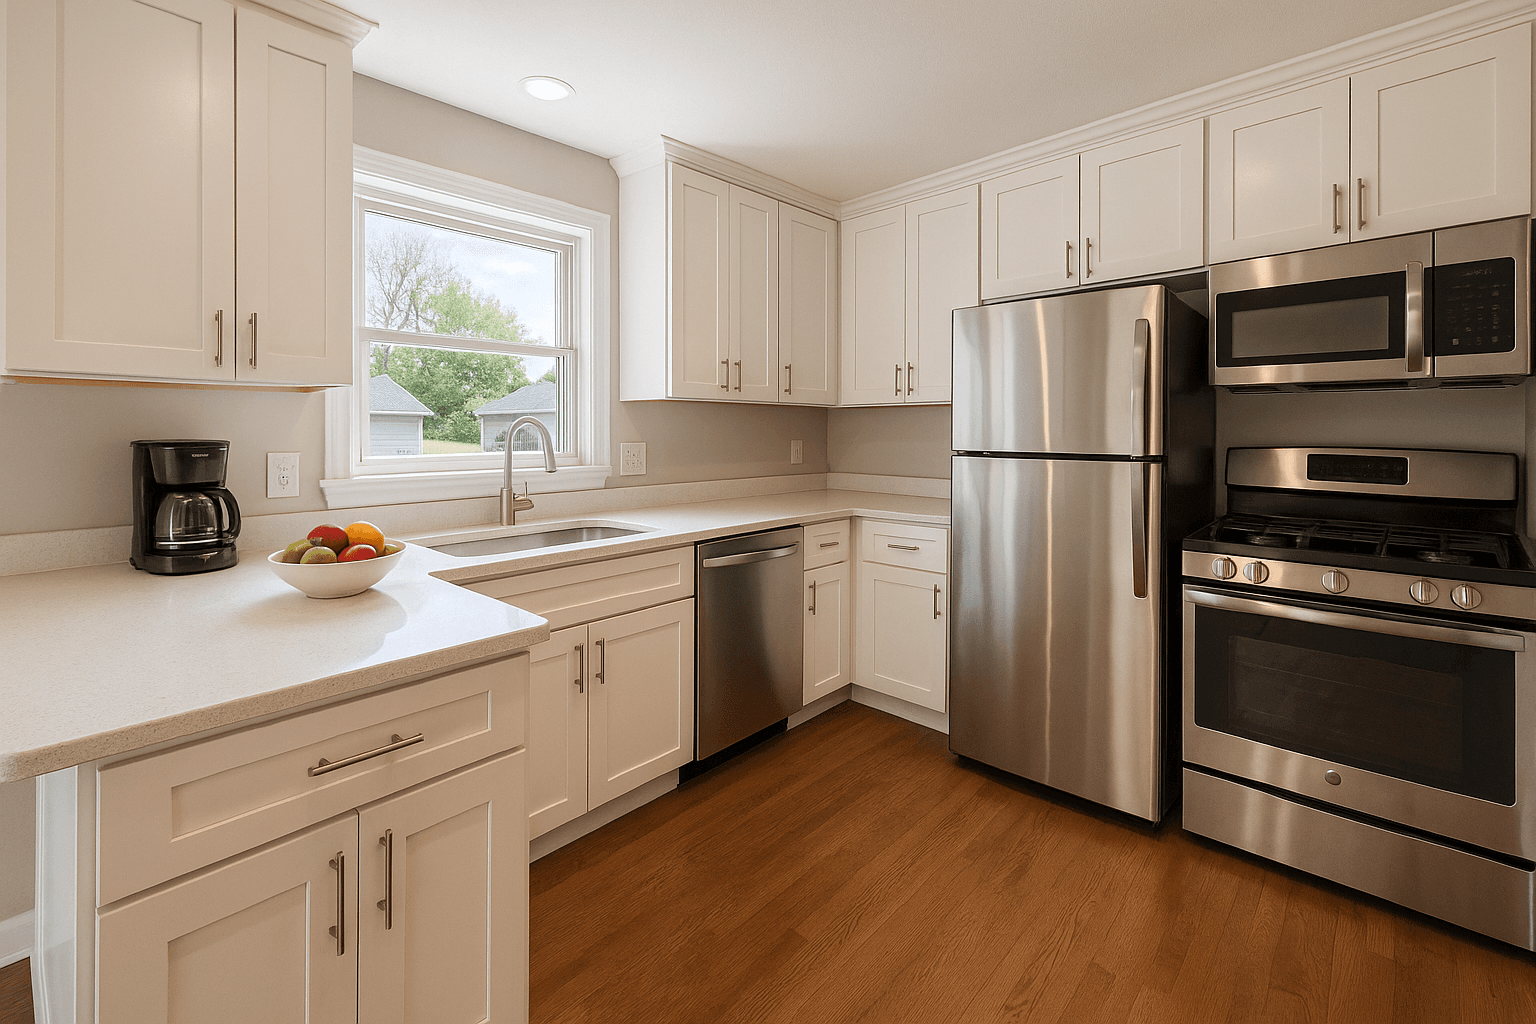
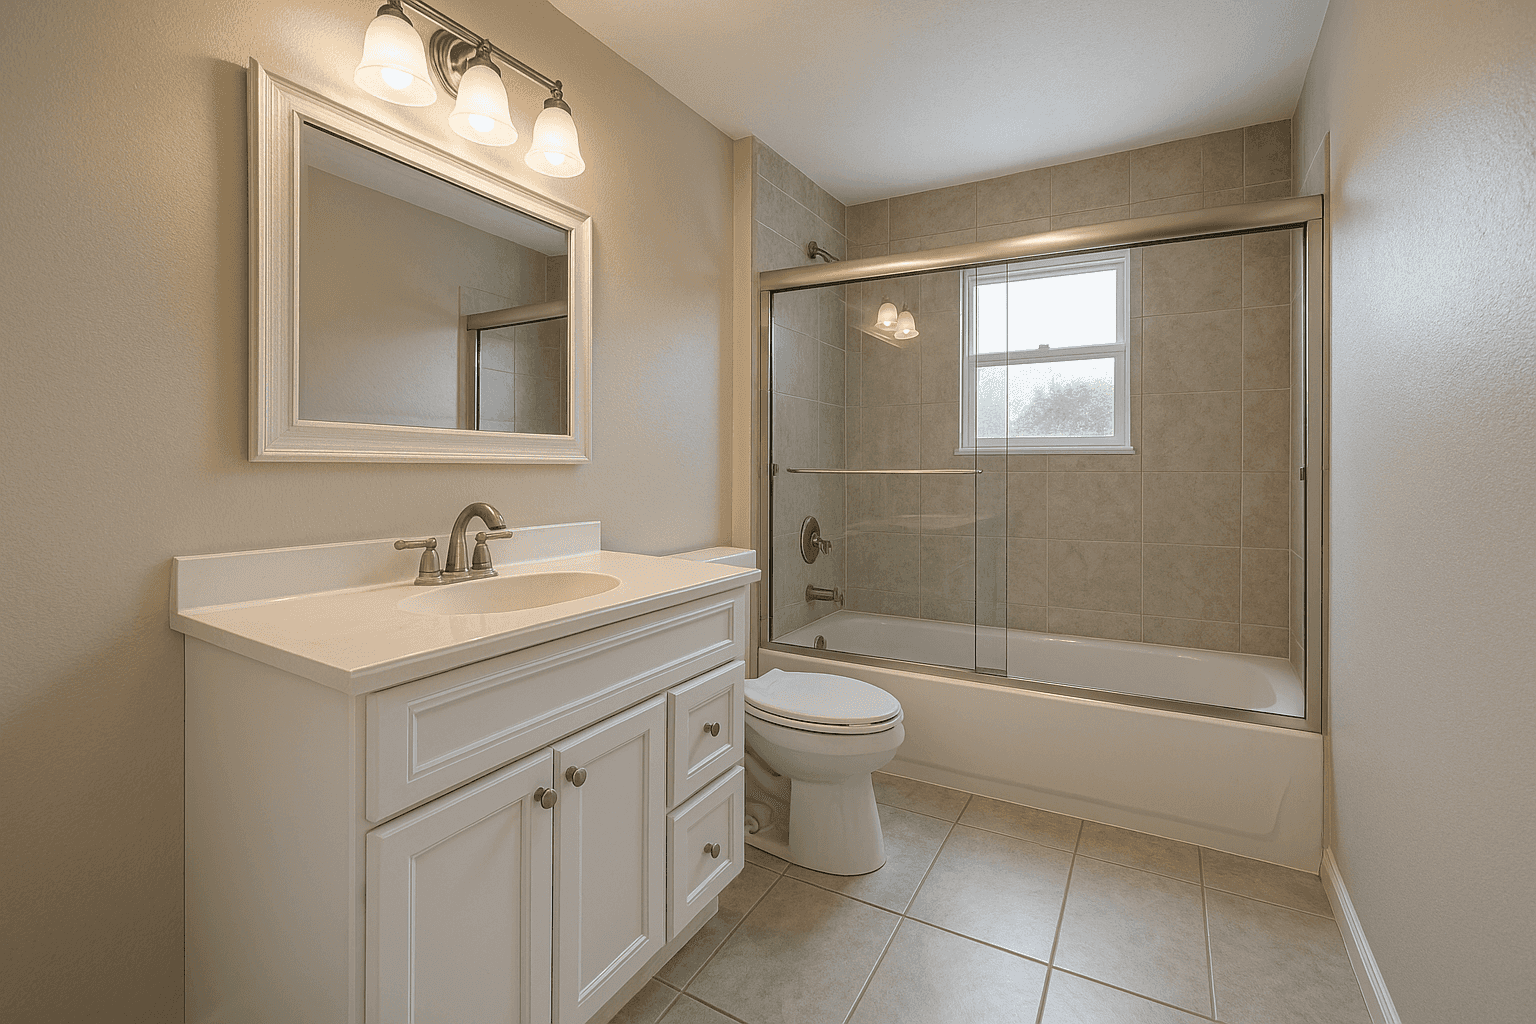
An HDR merge combines several exposures of the same frame into one photo, so the bright parts of a scene and the dark parts both keep their detail. In real estate photography it is the standard way to photograph an interior with a window in it: the darker exposures hold the view outside, the brighter ones open the corners of the room, and the merge keeps the best of each.
This guide covers why interiors need it, how to shoot brackets a merge can use, the three ways exposures are merged, what a clean result looks like, the problems that give a merge away, and when it makes sense to merge yourself, use software, or hand the work off.
Why real estate interiors need an HDR merge
Daylight through a window is many times brighter than the light inside a room. The eye adapts as it moves between the two, so standing in the room you see the view and the corners at once. A camera sensor records one exposure at a time, and its range is narrower than the scene. Expose for the room and the windows clip to white; expose for the windows and the room falls into shadow.
Agents and buyers notice both failures. A white window looks like something is being hidden, and a dark room looks small and unwelcoming. The merge exists to close that gap, and it is why bracketing is the default on almost every listing shoot.
How many brackets to shoot for an HDR merge
Three to five exposures per composition covers most rooms, commonly spaced one to two stops apart. The rule that matters more than the count: the darkest frame must hold the view through the brightest window, and the brightest frame must show detail in the darkest corner. If either end is missing, no merge can recover it.
- Shoot on a tripod, so every exposure lines up to the pixel
- Use a remote or a short timer, so pressing the shutter does not move the camera
- Bracket with shutter speed and keep the aperture and ISO fixed, so depth of field and noise match across frames
- Shoot RAW where you can: it holds more highlight and shadow detail than a JPEG
- Check the darkest frame on the back of the camera; if a window is still white, add a darker exposure
- Add brackets, not fewer, for rooms with direct sun on the glass or very dark wood
The three ways exposures are merged
Every HDR workflow is a version of one of three approaches, and each leaves its own fingerprint on the photo.
Exposure blending (often called exposure fusion) builds the final image directly from the brackets, taking each area from the frames where it is best exposed. It never leaves the normal range of a photo, so it tends to look natural, with realistic contrast and clean whites. Its weakness is very bright windows, where it can leave the view a little hazy unless the darkest frame was dark enough.
Tone-mapped HDR first merges the brackets into one file with an extended range, then compresses that range back into a viewable photo. It can pull a great deal of detail from both ends of the scene, and pushed too far it produces the look that gave HDR a bad name: grey skies, glowing edges, crunchy texture and walls that look dirty.
Manual blending uses layers and masks by hand, usually with a flash frame for colour (the flambient method) and the dark exposure painted in for the windows. It gives the most control and the most consistent colour, at the cost of the most editing time per photo.
Most finished real estate interiors combine the approaches: a blend or merge as the base, then local corrections for the windows and colour. Which one you start from matters less than judging the result against the checklist below.
Ghosting: what moves between exposures
A merge assumes nothing in the frame moved between exposures. Anything that did move shows up twice, half transparent, or with a soft double edge. This is called ghosting, and it is the single most common technical fault in a merged interior.
- Ceiling fans: turn them off and wait for the blades to stop
- Curtains and plants near an open window or an air vent
- Trees, flags and water outside the window on a windy day
- Pets, and people walking past a doorway
- Televisions and screens that flicker between frames
- The photographer's own reflection in a mirror or a glass door
Getting the colour right in a merged interior
Interiors mix light sources: daylight from the windows is cool, most bulbs are warm, and some fixtures are green or magenta. Each exposure records that mix differently, so a merge can come back with a yellow ceiling, a blue window wall and orange shadows in the same frame.
Set one white balance for every bracket of a composition, so the frames agree with each other. Then correct colour on the merged file, not on the brackets one at a time. Neutral whites on ceilings, trim and cabinets are the anchor: if they read clean, the rest of the room usually follows. Strong wall colours also bounce onto ceilings and floors, and a good correction removes that cast without draining the wall itself.
What a clean HDR merge looks like
Judge every merged interior at full size and at thumbnail size, against these:
- The view through the window reads clearly, and is still a little brighter than the room, the way the eye sees it
- No halo: no bright or grey rim where window frames and furniture meet the wall
- Whites are white: ceilings, trim and cabinets are neutral, with no yellow or blue cast
- Shadows keep their depth: the room has contrast and does not look flat or grey
- Verticals are vertical: door frames and wall corners stand straight
- Lights look switched on: lamps and pendants glow without blowing out into white blobs
- No ghosts: fans, curtains and anything outside show once, with crisp edges
- Every room in the set matches, so the gallery reads as one shoot
Common HDR merge problems and how to fix them
Halos come from aggressive local contrast or a mask that is too soft around the windows. Reduce the strength, or correct the windows with a tighter local adjustment instead of pushing the whole frame.
A grey, flat room comes from compressing the range too far. Bring back contrast and let the darkest areas be dark; a room with real shadows looks larger and more natural than one with none.
Noise in the shadows means the brightest exposure was not bright enough, so the merge lifted the dark areas instead of using clean data. Add a brighter bracket on the next shoot.
A hazy window means the darkest exposure was not dark enough. No edit recovers a view that clipped in every frame, which is why the darkest bracket is checked on site.
Colour that shifts from room to room means each photo was corrected on its own. Correct the set together, against the same neutral references.
Merge it yourself, use software, or outsource the HDR
Merging by hand gives full control and costs the most time. It suits photographers with a distinct style and a light shoot schedule, and it is where most people learn what a good merge looks like.
Desktop HDR software automates the blend and leaves you the corrections: windows, colour, verticals and clean-up. It is fast for a single photo and slower than it looks across a full listing, because every frame still needs a pass and the set still needs matching.
Outsourcing HDR editing hands the whole merge and correction to an editing service. It frees the evenings that editing takes and makes the cost per photo predictable. What to ask of any service: that it keeps your framing, holds the window views, corrects colour and verticals as standard, returns full-resolution files, and lets you review every image before your client sees it.
HDR Merge on Better Listing Media
HDR Merge is the Service Better Listing Media built for this. Upload the shoot as it came off the card, in RAW, JPEG, TIFF or PNG, and the brackets are grouped automatically from their EXIF data, so there is nothing to sort.
Each group is merged with colour correction, vertical correction and sharpening in the same pass, tuned for natural interiors: clean whites, real contrast and the window view held. Fireplace lighting, sky replacement, screen replacement and photographer and camera removal run automatically with the merge, with no extra line items. The files come back at full resolution, and you review and approve every image before it is delivered to your client.
The price per photo is on the HDR editing pricing page, and the full workflow, from import to delivery, is in our step-by-step guide to shooting and merging HDR brackets.
Quick answers
Is HDR merge the same as HDR photography? HDR photography is the whole method: shooting brackets and combining them. The merge is the combining step.
Can you HDR merge a single photo? Not truly. A single RAW file can be pushed to look similar, but it cannot hold a bright window and a dark corner the way several exposures can.
Is HDR or flambient better for real estate? Both solve the same problem. HDR is faster on site and easier to keep consistent; flambient gives the most colour control. Our flambient vs HDR guide covers the trade-off in detail.
Does an HDR merge change what is in the room? It should not. A merge decides how bright each part of the photo is. The furniture, the finishes and the view out the window stay exactly as they were.
This guide goes with HDR Merge.